Prep Time: 20 minutes | Chill Time: 6 hours (overnight preferred) | Serves: 12
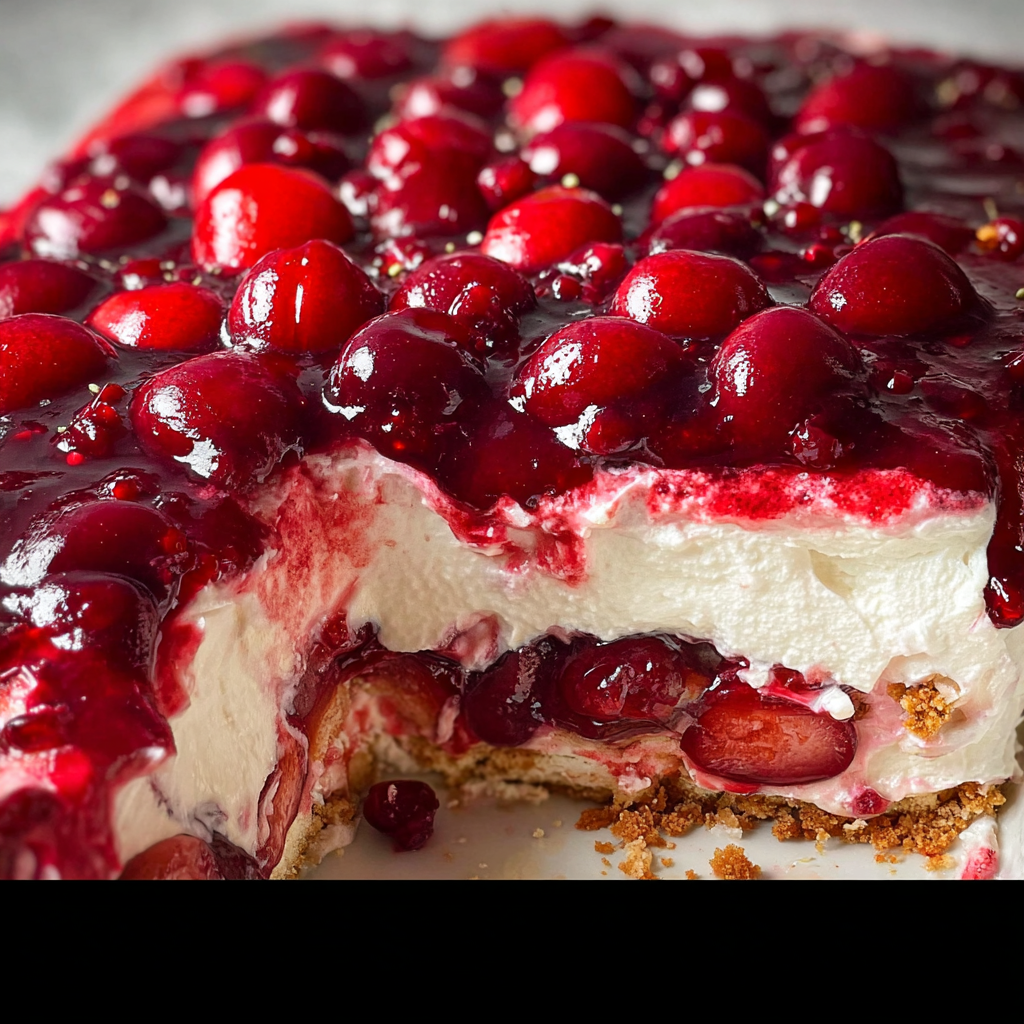
If you are looking for a dessert that requires zero oven time, feeds a crowd, and disappears within minutes at every gathering — this is the one. Easy No Bake Cherry Delight is a classic American layered dessert that has been showing up at potlucks, backyard barbecues, holiday tables, and church suppers for decades, and for very good reason. A buttery graham cracker crust, a fluffy cream cheese filling, and a gorgeous glossy cherry topping — three simple layers that together create something truly irresistible.
The best part? You only need a handful of basic ingredients and about 20 minutes of hands-on time. The fridge does the rest.
Why You’ll Love This Recipe
This is the kind of dessert that earns you compliments every single time, without spending hours in the kitchen. It is cool, creamy, sweet but not overpowering, and absolutely stunning to look at with that bright red cherry topping. Whether you are making it for a summer cookout, a holiday dinner, Valentine’s Day, or just a regular Tuesday when you need something special — Cherry Delight always delivers.
It is also completely beginner-friendly. There is no baking, no tempering chocolate, no tricky techniques. If you can stir and spread, you can make this dessert.
A Little Background
Cherry Delight — sometimes called Cherry Yum Yum — is one of those beloved vintage American recipes that has been passed down through generations. It started appearing at church potlucks and family gatherings across the country in the mid-20th century and never really left. And honestly, why would it? With its perfect combination of textures and flavors, this dessert has stood the test of time for good reason. Simple, satisfying, and always a crowd-pleaser.
What Makes This Recipe Work
Three layers, each with a specific job to do:
– The graham cracker crust provides a sweet, buttery, slightly salty base that holds everything together and adds that satisfying crunch with every bite.
– The cream cheese filling is light, airy, and perfectly sweetened — it is essentially a no-bake cheesecake layer that balances the tartness of the cherries beautifully.
– The cherry pie topping adds a fruity, glossy, show-stopping finish that makes this dessert look as good as it tastes.
The magic is in the layers — and in the patience to let it chill properly before serving.
Ingredients
– 2 cups graham cracker crumbs
– 3 tbsp granulated sugar
– ½ cup unsalted butter, melted
– 16 oz cream cheese, softened (full fat brick — not spreadable)
– 1 cup powdered sugar
– 1 tsp pure vanilla extract
– 1 tbsp fresh lemon juice
– 8 oz Cool Whip (or whipped topping), thawed
– 21 oz canned cherry pie filling
Instructions
Step 1 — Prepare the Pan
Grease a 9×13-inch baking dish with nonstick cooking spray, or line it with parchment paper leaving an overhang on both sides. The parchment overhang will allow you to lift the entire dessert out of the pan cleanly for easy slicing and a prettier presentation. Set aside.
Step 2 — Make the Graham Cracker Crust
In a medium bowl, mix together the graham cracker crumbs, granulated sugar, and melted butter until all the crumbs are evenly coated and the mixture resembles wet sand. Pour the mixture into the prepared pan and press it firmly and evenly into the bottom using the flat bottom of a measuring cup. Press all the way to the edges and into the corners. Refrigerate while you prepare the filling — this helps the crust firm up before the layers go on.
Step 3 — Make the Cream Cheese Filling
In a large bowl, beat the softened cream cheese with an electric mixer on medium-high speed for 2 to 3 minutes until completely smooth and fluffy, with no lumps whatsoever. Add the powdered sugar, vanilla extract, and fresh lemon juice, and continue beating until the mixture is silky smooth and well combined. Scrape down the sides of the bowl as needed.
Step 4 — Fold in the Cool Whip
Add the thawed Cool Whip to the cream cheese mixture and gently fold it in using a rubber spatula, using slow, sweeping motions until just combined. Do not overmix — the goal is to keep the filling as light and airy as possible. Overmixing will deflate the whipped topping and result in a denser filling.
Step 5 — Assemble the Layers
Remove the crust from the refrigerator. Spread the cream cheese filling evenly over the graham cracker crust, smoothing it all the way to the edges. Then spoon the cherry pie filling evenly over the top, spreading it into an even layer that covers the cream cheese completely. The red cherries against the white filling make for a stunning presentation.
Step 6 — Chill
Cover the pan tightly with plastic wrap and refrigerate for at least 6 hours. Overnight chilling is strongly recommended — this is where the magic happens. The layers set up beautifully, the crust firms, and the flavors meld together into something truly special. Do not rush this step.
Step 7 — Slice and Serve
When ready to serve, cut into 12 squares. For clean, picture-perfect slices that show off the layers, wipe the knife blade with a damp cloth between every cut. Serve cold, directly from the pan, or lift out using the parchment overhang and transfer to a cutting board for slicing.
Recipe Notes
– Soften the cream cheese fully. Take it out of the refrigerator at least 45 minutes before you start — ideally one hour. Cold cream cheese will not beat smoothly and will leave lumps in your filling no matter how long you mix it.
– Use brick cream cheese, not spreadable.** The tub-style cream cheese spread contains more moisture and stabilizers that will make the filling too soft and runny. Always use a full-fat brick for the best texture and structure.
– Press the crust firmly. A loosely packed crust will crumble when you slice the dessert. Use the flat bottom of a measuring cup and really press it in — the firmer the better.
– Do not overmix after adding the Cool Whip. Fold gently with a spatula to preserve the light, airy texture of the filling. Overmixing will give you a flat, dense layer instead of that fluffy, cloud-like consistency.
– Overnight chilling is best. Six hours is the minimum, but if you can make this the day before, do it. The flavor and texture improve significantly after a full night in the refrigerator.
– Clean knife between slices. The layered look is part of the appeal of this dessert. Wipe the blade clean between every cut for sharp, defined layers in every slice.
– Extra cherries tip. Canned cherry pie filling can sometimes be heavy on the gel and light on actual cherries. For a more fruit-forward topping, use one full can plus just the cherries drained from a second can. Your guests will notice the difference.
– Make it ahead. This dessert is ideal for making the day before a gathering. It travels well and only gets better with time in the fridge.
Variations
Blueberry Delight — Swap the cherry pie filling for blueberry pie filling. The purple topping looks stunning and the flavor is equally delicious.
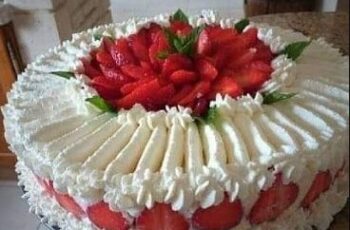
Strawberry Delight — Use strawberry pie filling, or make a quick homemade topping with fresh strawberries, sugar, and a little cornstarch for a more summery, fresh flavor.
Peach Delight — Peach pie filling gives this dessert a warm, Southern charm that is perfect for summer cookouts and barbecues.
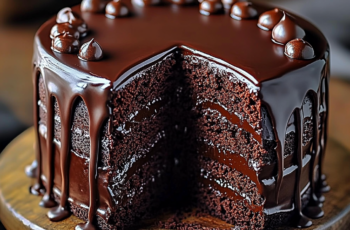
Chocolate Graham Cracker Crust — Swap the regular honey graham crackers for chocolate graham crackers in the crust for a richer, more indulgent base that pairs beautifully with the cherry topping.
Lemon Twist — Add an extra teaspoon of lemon zest to the cream cheese filling for a brighter, more citrusy flavor that cuts beautifully through the sweetness of the cherries.
Individual Servings — Layer the ingredients into individual mason jars or dessert glasses for a portable, party-ready presentation. Perfect for potlucks where people can grab their own.
Storage
Refrigerator: Cover tightly with plastic wrap and store in the refrigerator for up to 5 days. The dessert actually tastes better on day two, once the layers have had more time to set and the flavors have fully developed.
Freezer: Make the crust and cream cheese filling layers, then freeze without the cherry topping for up to 3 months. Wrap tightly in plastic wrap and then foil. When ready to serve, thaw overnight in the refrigerator and add the cherry pie filling just before serving.
Did you try this recipe? Leave a comment below and let us know how it turned out — and don’t forget to tag us on social media! We’d love to see your Cherry Delight.